January 24, 2025

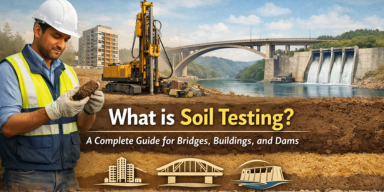
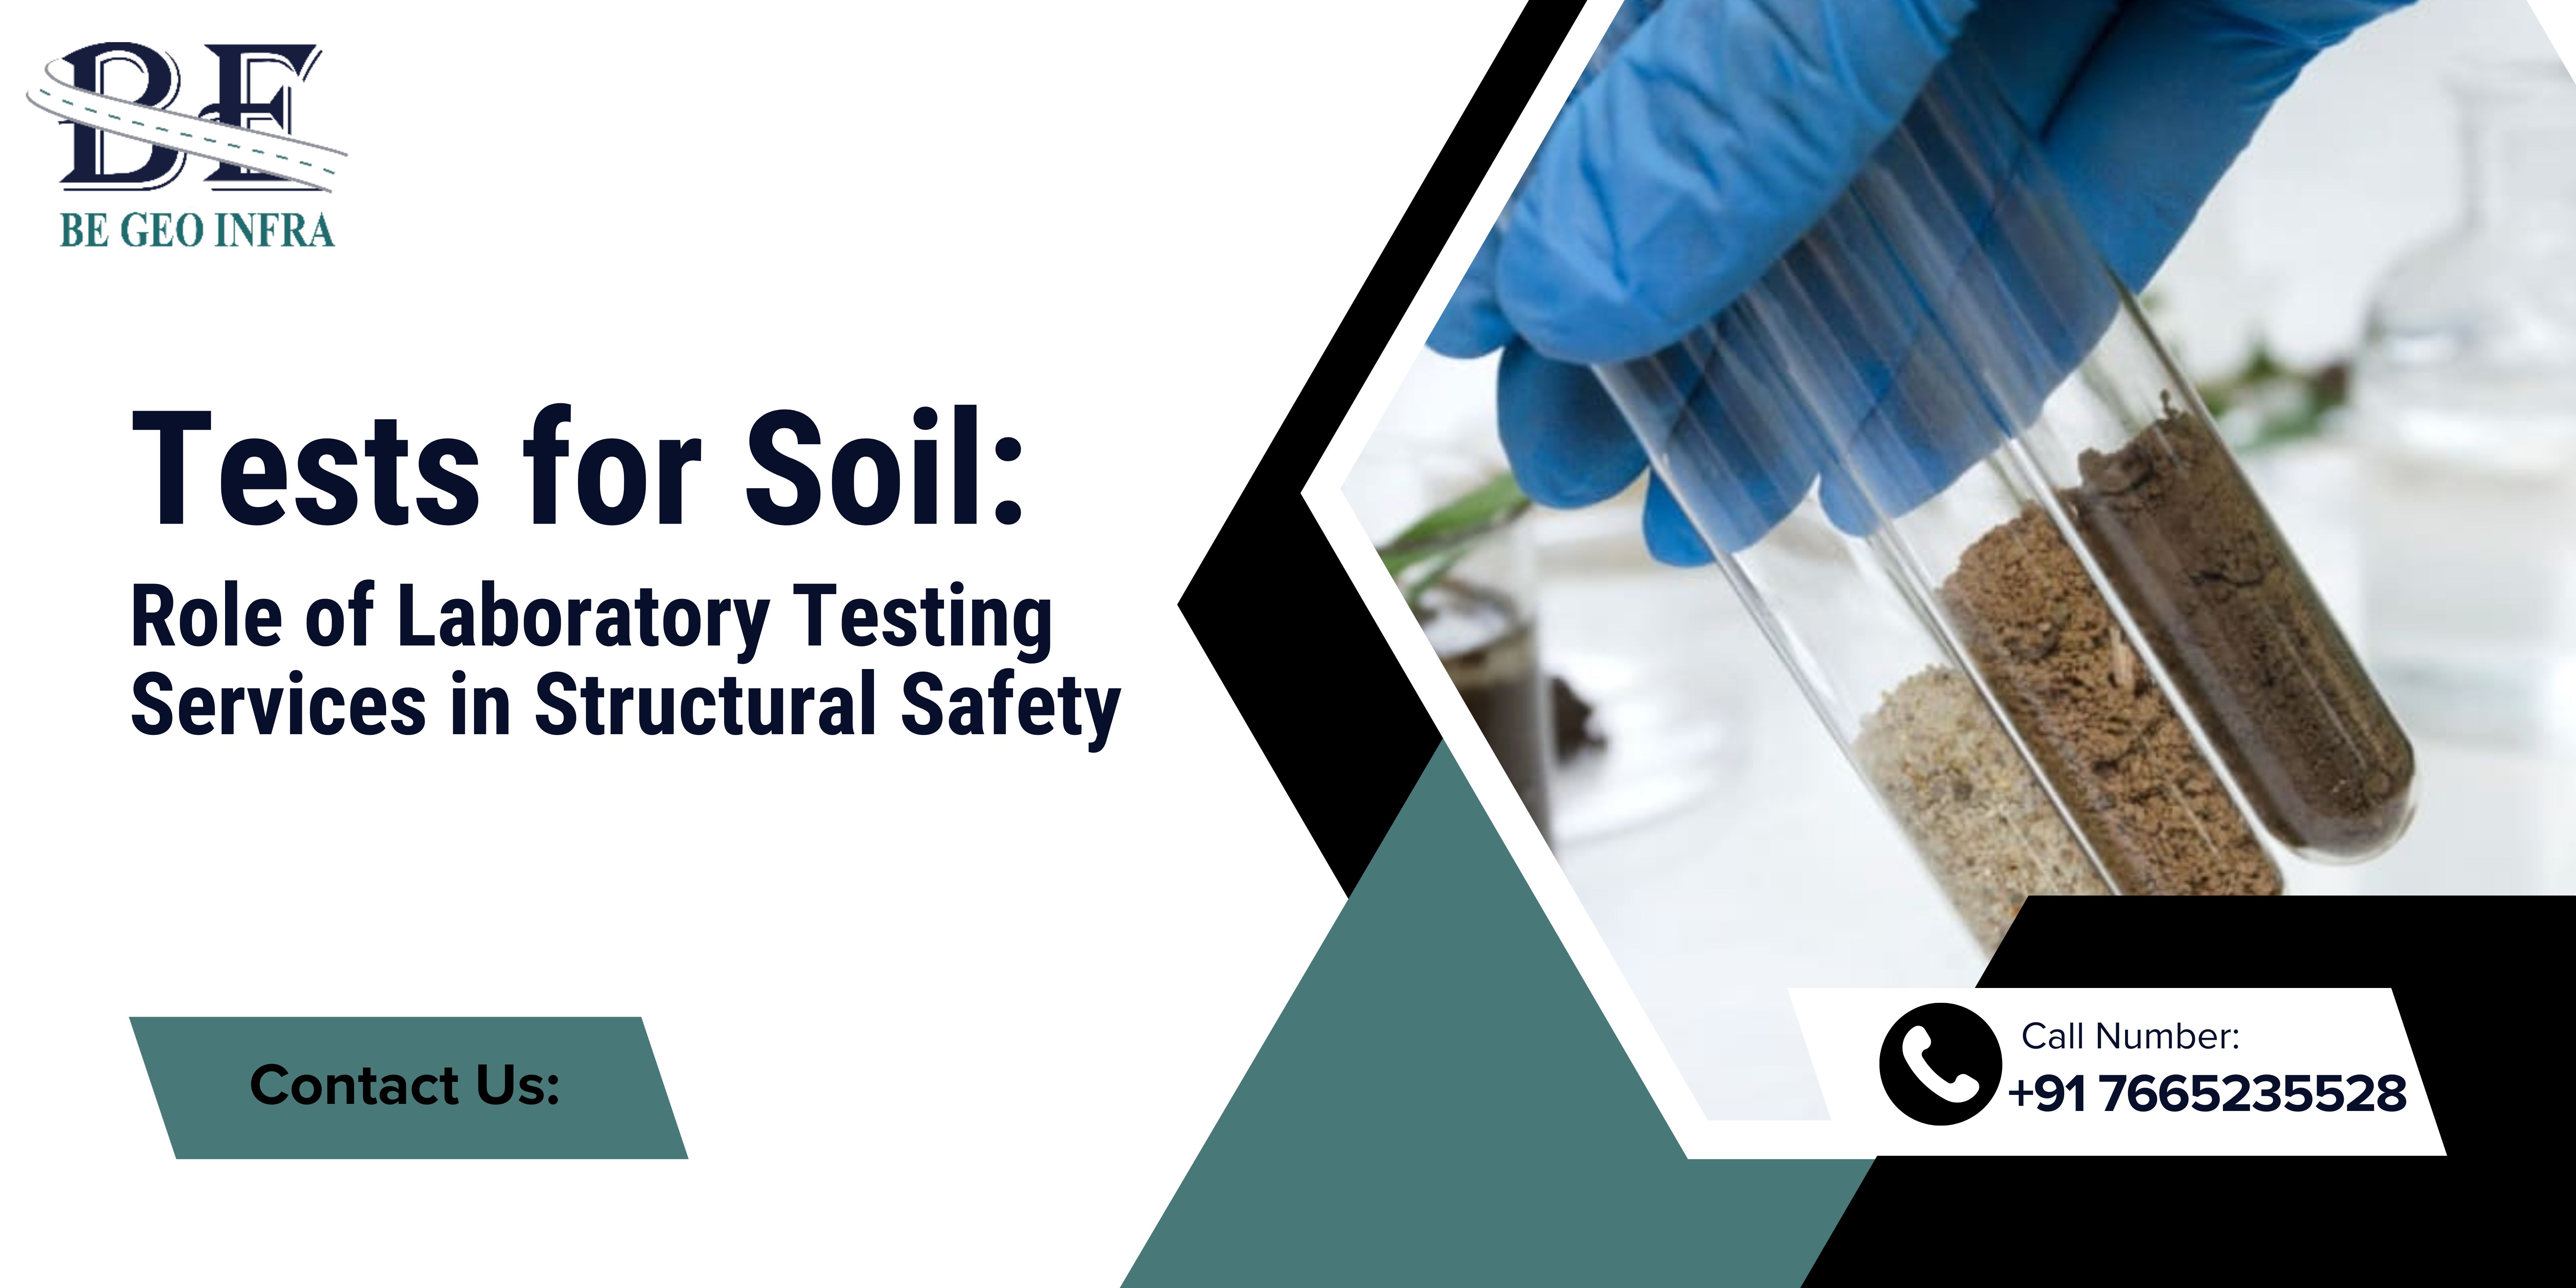
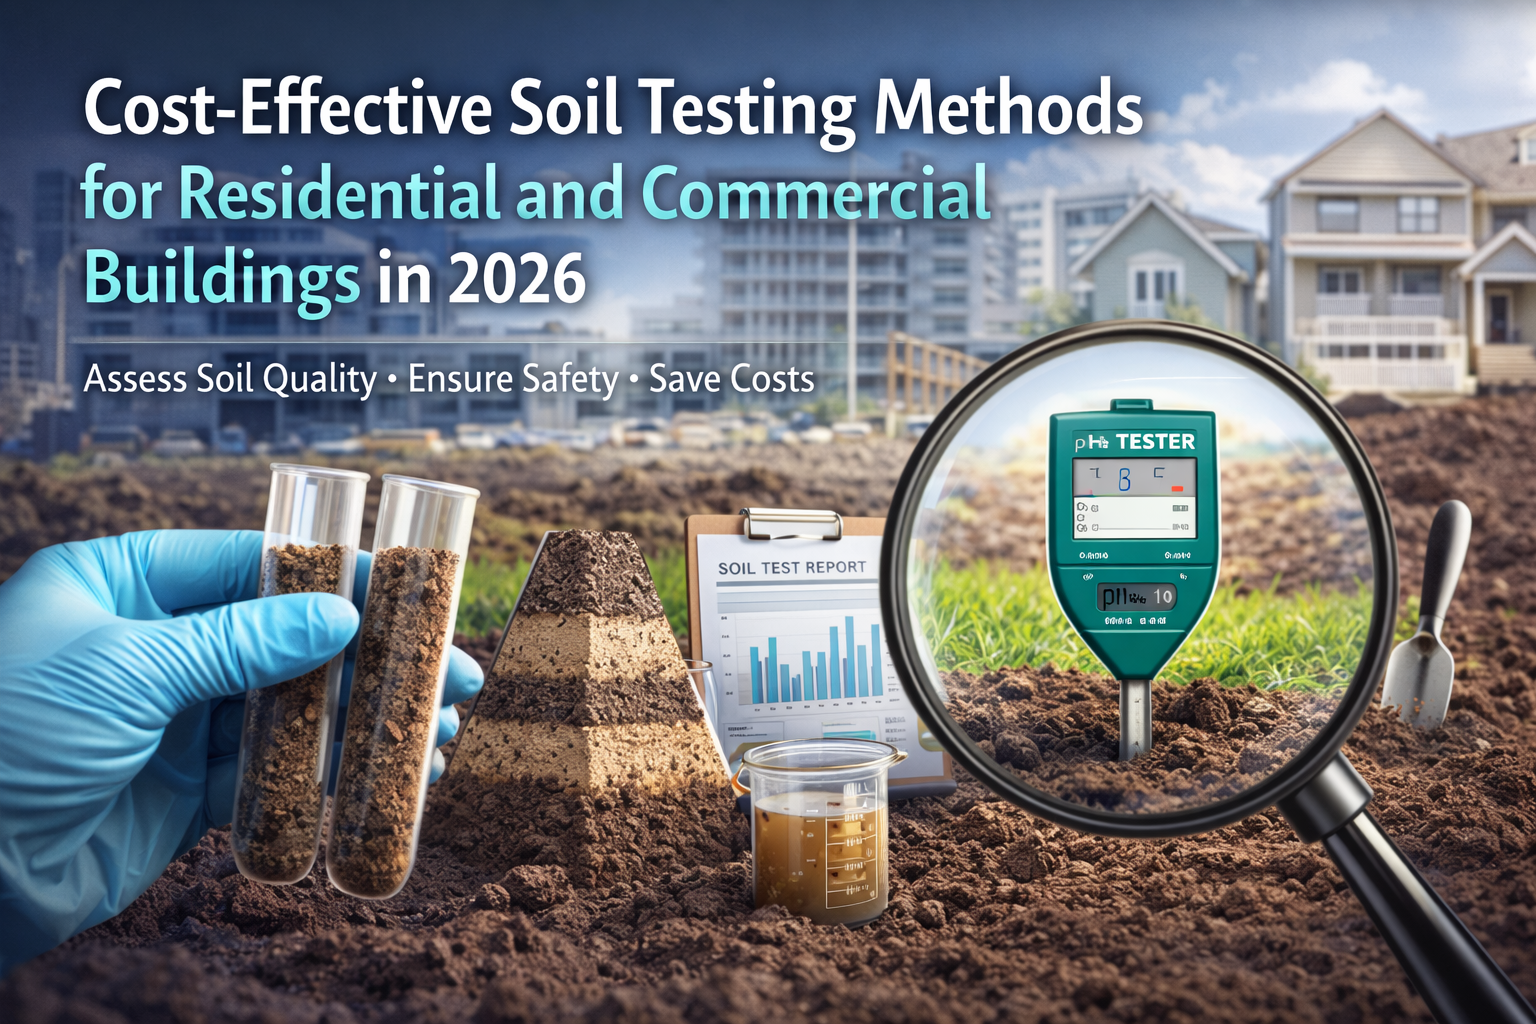
What is Soil Testing ?A Complete Guide for Bridges, Buildings, and Dams
When planning any major construction project—whether it's a towering building, a long-span bridge, or a massive dam—the first question engineers must answer is: "Can the ground support this structure?" This is where soil testing becomes essential.
Soil testing for construction is the scientific process of analyzing ground conditions to determine if the soil can safely support a structure. Without proper geotechnical soil testing, even the best architectural designs can fail catastrophically.
In this comprehensive guide, we'll explore everything you need to know about soil testing methods, procedures, and why this critical step can make or break your infrastructure project.
What is Soil Testing and Why is it Important?
Soil testing is the systematic examination of soil properties to determine its physical and chemical characteristics. For construction purposes, we focus mainly on understanding the soil's ability to support loads, resist settlement, and remain stable over time.
Think of soil testing as a health check-up for the ground beneath your project. Just as you wouldn't build a house without checking the foundation, you shouldn't start any construction without understanding what lies beneath.
Why Soil Testing Matters
The importance of soil testing in construction cannot be overstated. Here's why:
Safety First: Weak soil can lead to structural collapse, causing loss of life and property. The 2013 collapse of the Rana Plaza building in Bangladesh, which killed over 1,100 people, was partly attributed to inadequate foundation assessment.
Cost Savings: Identifying soil problems early prevents expensive mid-construction fixes. Fixing foundation issues after construction can cost 10 times more than proper initial testing.
Design Accuracy: Engineers need soil data to design appropriate foundations. A building on rocky soil requires different foundations than one on clay.
Legal Compliance: Most building codes require soil investigation reports before approving construction permits.
Long-term Stability: Proper soil testing ensures your structure remains stable for decades, not just during construction.
The Role of Soil Testing in Different Infrastructure Projects
Soil Testing for Building Construction
When it comes to soil testing for building construction, the process determines what type of foundation system will work best. Will you need shallow spread footings, deep pile foundations, or specialized ground improvement?
For residential buildings, basic soil tests typically examine the top 10-20 feet of soil. However, for high-rise buildings and commercial structures, investigations may extend 50-100 feet deep or more.
Real-world example: Before constructing the Burj Khalifa in Dubai, engineers conducted extensive soil testing that revealed challenging desert sand conditions. This led to the design of a specialized piled raft foundation system with piles extending over 160 feet deep.
Soil Testing for Bridges
Bridges present unique challenges because they must support concentrated loads at specific points (bridge piers and abutments). Soil testing for bridges focuses heavily on the soil bearing capacity test to ensure these critical support points can handle massive loads.
Bridge foundations often encounter varying soil conditions along their length—one pier might rest on rock while another stands on soft clay. This makes comprehensive soil investigation for infrastructure projects absolutely critical.
The soil bearing capacity test for bridges typically includes both vertical compression tests to check downward load capacity and lateral load testing to ensure stability against horizontal forces like wind and earthquakes.
Case study: The construction of the San Francisco-Oakland Bay Bridge required extensive soil testing due to complex seismic conditions. Engineers discovered liquefiable soils that could turn into liquid during earthquakes, requiring special deep foundation solutions.
Soil Testing for Dams
Dam construction represents perhaps the most demanding application of geotechnical soil testing. A dam failure can be catastrophic, potentially flooding entire communities downstream.
Soil testing methods for dam construction focus on several critical factors including seepage potential (water flowing through the soil), bearing capacity, slope stability, and the risk of liquefaction during earthquakes.
For earth dams, engineers must test both the foundation soil and the soil that will be used to build the dam itself. Every truckload of soil used in construction may be tested to ensure it meets specifications.
Historical lesson: The failure of the Teton Dam in Idaho (1976) killed 11 people and caused hundreds of millions in damage. Post-failure investigations revealed inadequate testing of the rock foundation, which allowed water seepage that ultimately caused the collapse.
Foundation Soil Testing: Understanding Soil Bearing Capacity
The soil bearing capacity is the maximum load per unit area that soil can support without excessive settlement or shear failure. This is the single most important number for foundation design.
What is Bearing Capacity?
Imagine placing a book on a sponge versus placing it on a wooden table. The table has much higher bearing capacity—it can support the book without compressing. Soil bearing capacity works the same way, but with more variables.
Bearing capacity depends on:
- Soil type: Rock has the highest capacity, followed by gravel, sand, silt, and clay
- Moisture content: Water-saturated soil is weaker
- Depth: Deeper soil often has higher capacity due to overburden pressure
- Loading type: Static loads versus dynamic (vibrating) loads
Typical Bearing Capacity Values
Here are approximate safe bearing capacity values (these should not replace actual testing):
- Solid Rock: 300-400 tons per square meter
- Soft Rock: 80-100 tons per square meter
- Compact Gravel/Sand: 30-45 tons per square meter
- Loose Sand: 10-15 tons per square meter
- Hard Clay: 20-40 tons per square meter
- Soft Clay: 2-10 tons per square meter
Types of Soil Tests for Construction
Modern geotechnical investigation employs numerous testing methods. Let's explore the most common types of soil tests for construction:
1. Standard Penetration Test (SPT)
The SPT is the most widely used field test worldwide. A 140-pound hammer drops 30 inches onto a drive rod, and engineers count how many blows it takes to drive a sampler 12 inches into the soil.
What it tells us: The "N-value" (blow count) indicates soil density and strength. Higher N-values mean stronger, denser soil.
Best for: Quick assessment of soil strength at various depths, especially in sandy soils.
2. Plate Load Test
This test directly measures soil bearing capacity by applying actual loads on a steel plate placed on the soil and measuring settlement.
What it tells us: The exact relationship between load and settlement at a specific location.
Best for: Final verification of bearing capacity before major construction begins.
3. Core Cutter Test
Used to determine the in-situ dry density of natural or compacted soil. A cylindrical cutter is driven into the soil, and the sample is extracted and weighed.
What it tells us: Whether soil has been compacted to the required density.
Best for: Quality control during earthwork construction, especially for roads and earth dams.
4. California Bearing Ratio (CBR) Test
Primarily used for road and pavement design, this test measures the resistance of soil to penetration under controlled conditions.
What it tells us: The strength of subgrade soil supporting roads or airfield pavements.
Best for: Road construction, parking areas, and airport runways.
5. Triaxial Shear Test
A sophisticated laboratory test that determines the shear strength and stress-strain relationship of soil under various confining pressures.
What it tells us: How soil will behave under complex loading conditions, crucial for slope stability analysis.
Best for: Critical projects like dams, deep excavations, and structures on weak soils.
6. Consolidation Test (Oedometer Test)
This laboratory test measures how much a soil sample compresses under sustained loading over time and how quickly water drains from the soil.
What it tells us: Expected settlement amounts and the time required for settlement to occur.
Best for: Buildings on clay soils prone to settlement, especially high-rise structures.
7. Permeability Test
Measures how easily water flows through soil, essential for understanding drainage characteristics.
What it tells us: Seepage rates, drainage requirements, and liquefaction potential.
Best for: Dam design, basement construction, and any project where groundwater control matters.
8. Atterberg Limits Test
A laboratory test determining the moisture content at which clay soils change from solid to plastic to liquid state.
What it tells us: The plasticity and shrink-swell potential of fine-grained soils.
Best for: Identifying problematic expansive clays that can damage foundations.
How is Soil Testing Done for Construction: Step-by-Step Process
Understanding the soil testing procedure for buildings and infrastructure helps you plan better and communicate effectively with your geotechnical engineer.
Step 1: Desk Study and Site Reconnaissance
Before any physical testing, engineers review:
- Existing geological maps and reports
- Historical data from nearby projects
- Aerial photographs and satellite imagery
- Potential environmental concerns
Duration: 1-3 days
Step 2: Planning the Investigation Program
Engineers determine:
- How many test locations are needed
- Required depth of investigation
- Which specific tests to perform
- Special considerations (groundwater, contamination, etc.)
Rule of thumb: For buildings, conduct at least one boring per 2,500 square feet of building area, with minimum three borings per structure.
Step 3: Field Investigation
This involves physical work at the site including drilling boreholes, conducting in-situ tests, and collecting soil samples.
Common methods:
- Hand auger boring: For shallow depths (up to 15 feet) in soft soils
- Mechanical auger boring: For depths up to 50 feet
- Rotary drilling: For deeper investigations and hard soil/rock
- Test pits: Shallow excavations allowing direct visual inspection
Duration: 1-5 days depending on project size and complexity
Step 4: Laboratory Testing
Collected samples undergo detailed laboratory analysis:
- Moisture content and density measurements
- Grain size analysis (determining percentages of clay, silt, sand, gravel)
- Strength testing (shear strength, bearing capacity)
- Chemical analysis (for potential corrosion issues)
Duration: 1-2 weeks
Step 5: Data Analysis and Report Preparation
Geotechnical engineers analyze all collected data and prepare a comprehensive report including:
- Soil profile descriptions
- Laboratory test results with graphs and tables
- Bearing capacity recommendations
- Foundation type recommendations
- Construction considerations and potential problems
- Cost estimates for different foundation options
Duration: 1-2 weeks
Step 6: Design Recommendations
Based on test results, engineers provide specific recommendations:
- Safe bearing capacity values
- Foundation depth and type
- Excavation slope angles
- Dewatering requirements
- Ground improvement recommendations if needed
Common Geotechnical Investigation Challenges and Solutions
Challenge 1: Variable Soil Conditions
Many sites have dramatically different soil types even within short distances. One corner might be solid rock while another has soft clay.
Solution: Conduct adequate test borings throughout the site. Don't skimp on investigation to save money—it's the cheapest insurance you can buy.
Challenge 2: Groundwater Complications
High groundwater levels complicate both testing and construction. Water pressure can reduce bearing capacity and create stability problems.
Solution: Measure groundwater levels during investigation, plan for seasonal variations, and design appropriate drainage or dewatering systems.
Challenge 3: Expansive or Collapsible Soils
Some clay soils expand dramatically when wet and shrink when dry. Other soils collapse suddenly when saturated.
Solution: Specialized tests identify these problem soils early, allowing engineers to design protective measures like deep foundations or soil replacement.
Challenge 4: Contaminated Sites
Urban sites often contain buried foundations, utilities, or environmental contamination that interfere with testing.
Solution: Environmental assessment before geotechnical testing, and flexibility in test locations to work around obstructions.
Soil Testing Cost for Construction: Investment vs. Expense
Many developers ask: "How much does soil testing cost?" The better question is: "How much could inadequate testing cost me?"
Typical Cost Ranges
Residential Projects:
- Small house (basic testing): $1,000 - $3,000
- Large house or duplex: $3,000 - $7,000
Commercial Buildings:
- Small commercial (2-3 story): $5,000 - $15,000
- Mid-rise (4-10 story): $15,000 - $50,000
- High-rise (10+ story): $50,000 - $200,000+
Infrastructure Projects:
- Bridge (per pier): $10,000 - $30,000
- Dam project: $100,000 - $500,000+
- Highway (per mile): $20,000 - $75,000
Factors Affecting Cost
- Project size and complexity: Larger, more complex projects require more testing
- Site accessibility: Remote or difficult-to-access sites cost more
- Investigation depth: Deeper borings require more time and equipment
- Number of test locations: More borings mean higher costs
- Special testing requirements: Specialized tests (like triaxial testing) are expensive
- Rock drilling: Drilling through rock is much more expensive than soil boring
- Regional labor and equipment rates: Costs vary by location
Return on Investment
Consider this: Soil testing typically costs 0.5-2% of total construction budget, but foundation repairs can cost 10-30% of the building value. That's a potential 5-to-50 times return on your testing investment.
Real example: A developer saved $8,000 by reducing soil testing on a $2 million residential project. During construction, unexpected soft clay was discovered, requiring pile foundations that cost an additional $125,000 and delayed the project by three months.
How to Choose the Right Geotechnical Testing Agency
Searching for "geotechnical soil testing near me" returns many options, but how do you choose the right one?
Key Qualifications to Look For
1. Professional Credentials
- Licensed geotechnical engineers on staff
- Accredited laboratory (ISO/IEC 17025 or equivalent)
- Membership in professional societies (like ASTM, IGS, or local engineering societies)
2. Relevant Experience
- Experience with similar project types
- Knowledge of local soil conditions
- Track record with successful projects
3. Equipment and Technology
- Modern, well-maintained drilling equipment
- Properly calibrated laboratory instruments
- Digital data collection and reporting
4. Insurance and Liability Coverage
- Professional liability insurance
- General liability coverage
- Worker's compensation insurance
5. Reputation and References
- Ask for client references
- Check online reviews (but understand that one bad review doesn't tell the whole story)
- Ask local engineers and contractors for recommendations
Red Flags to Avoid
- Unwillingness to explain their methodology
- Promising results before testing
- Significantly lower prices without explanation (you usually get what you pay for)
- Lack of professional licensing
- Poor communication or unprofessional behavior
Questions to Ask Before Hiring
- "What specific tests do you recommend for my project and why?"
- "How many borings do you suggest and where will they be located?"
- "What's your typical turnaround time from testing to final report?"
- "Can you provide cost estimates for different foundation options?"
- "What happens if unexpected conditions are encountered?"
- "Will a licensed geotechnical engineer review and sign the report?"
Common Mistakes When Soil Testing is Ignored or Done Poorly
Mistake 1: Skipping Testing Entirely
Some developers try to save money by skipping soil testing, relying instead on visual inspection or nearby project data.
Consequences: Unexpected foundation failures, mid-construction redesigns, cost overruns often 10-50 times the cost of proper testing.
Mistake 2: Insufficient Test Locations
Testing only one corner of a large site misses critical variations in soil conditions.
Consequences: Foundation designed for good soil is built on poor soil, leading to differential settlement and structural damage.
Mistake 3: Too Shallow Investigation
Testing only the top few feet misses deeper weak layers or groundwater issues.
Consequences: Foundations that appear adequate initially can experience problems years later when loads reach deeper soil layers.
Mistake 4: Wrong Season Testing
Testing during dry season misses high groundwater conditions that occur during rainy season.
Consequences: Unexpected water problems during construction, requiring expensive dewatering or foundation redesign.
Mistake 5: Ignoring Recommendations
Some contractors ignore geotechnical recommendations to save time or money.
Consequences: Structural failures, legal liability, insurance claims, and potential loss of professional licenses.
Mistake 6: Using Unqualified Personnel
Hiring cheap, inexperienced testers or using obsolete equipment.
Consequences: Inaccurate results leading to unsafe or over-conservative (expensive) designs.
The Future of Soil Testing Technology
The field of geotechnical soil testing continues to evolve with new technologies:
Advanced Sensors: Real-time monitoring of soil conditions during and after construction using embedded sensors.
3D Modeling: Creating three-dimensional soil profiles that help engineers visualize subsurface conditions.
Remote Sensing: Using satellite imagery, ground-penetrating radar, and electromagnetic surveys to supplement traditional testing.
Machine Learning: AI algorithms analyzing vast amounts of soil data to improve predictions and identify patterns.
Non-Destructive Testing: New techniques that gather data without drilling, reducing costs and environmental impact.
Frequently Asked Questions (FAQ)
How long does soil testing take for a typical construction project?
For a standard residential or small commercial project, the complete soil testing process typically takes 2-4 weeks from initial site visit to final report. This includes 1-3 days for field work, 1-2 weeks for laboratory testing, and 1 week for analysis and report preparation. Larger or more complex projects may take 4-8 weeks or longer.
Can I build without soil testing?
Technically, some jurisdictions don't require soil testing for very small structures. However, this is extremely risky and not recommended. Even simple structures can fail catastrophically if built on unsuitable soil. Most building codes require geotechnical reports for any significant construction, and banks often require them before approving construction loans.
What is the difference between soil testing and geotechnical investigation?
Soil testing refers to the specific tests performed on soil samples (like bearing capacity tests or moisture content tests). Geotechnical investigation is the broader process that includes soil testing plus analysis of geological conditions, groundwater assessment, foundation recommendations, and construction guidance. Think of soil testing as the individual examinations, while geotechnical investigation is the complete health assessment.
How deep should soil testing go?
The required depth depends on your project type. As a general rule, soil investigation should extend to at least 1.5 times the width of your foundation below the foundation level, or until you reach competent bearing strata (like bedrock or very dense soil). For buildings: 10-30 feet for small structures, 30-100+ feet for high-rises. For bridges: typically to rock or at least 2 times the foundation width below the deepest foundation element.
Conclusion: Soil Testing is Your Project's Foundation for Success
Understanding what is soil testing and why is it important isn't just technical knowledge—it's the foundation of every successful construction project. Whether you're building a small house, a multi-story building, a bridge, or a dam, proper soil testing for construction ensures safety, saves money, and provides peace of mind.
Popular post
February 08, 2025
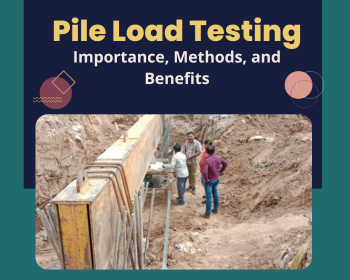
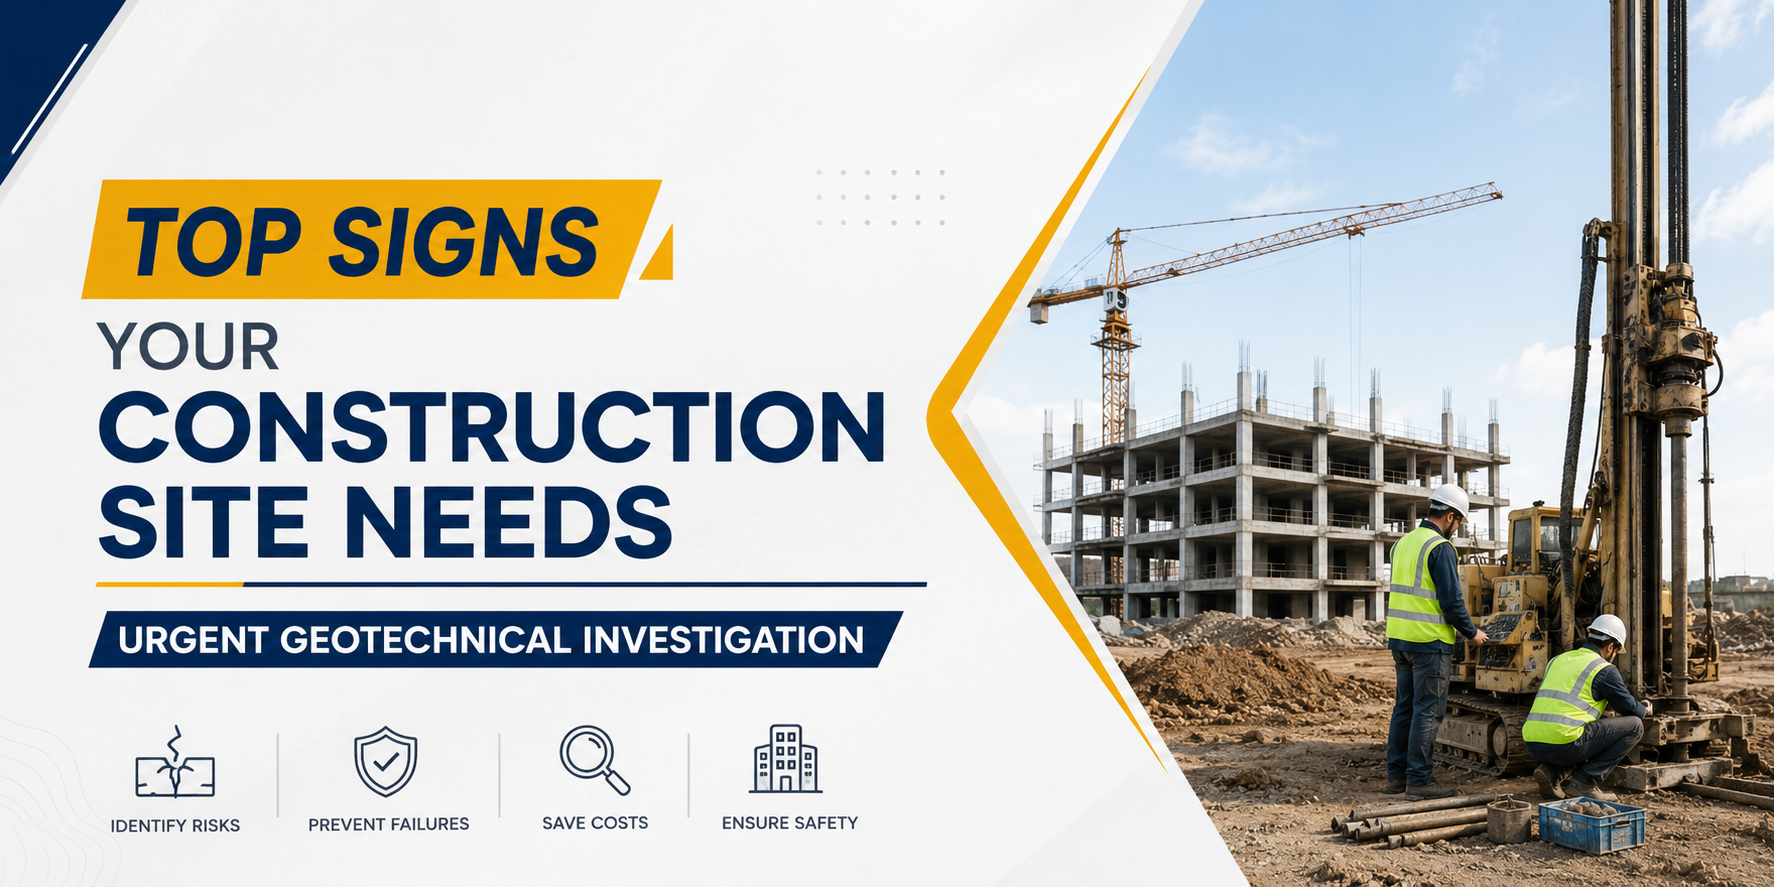
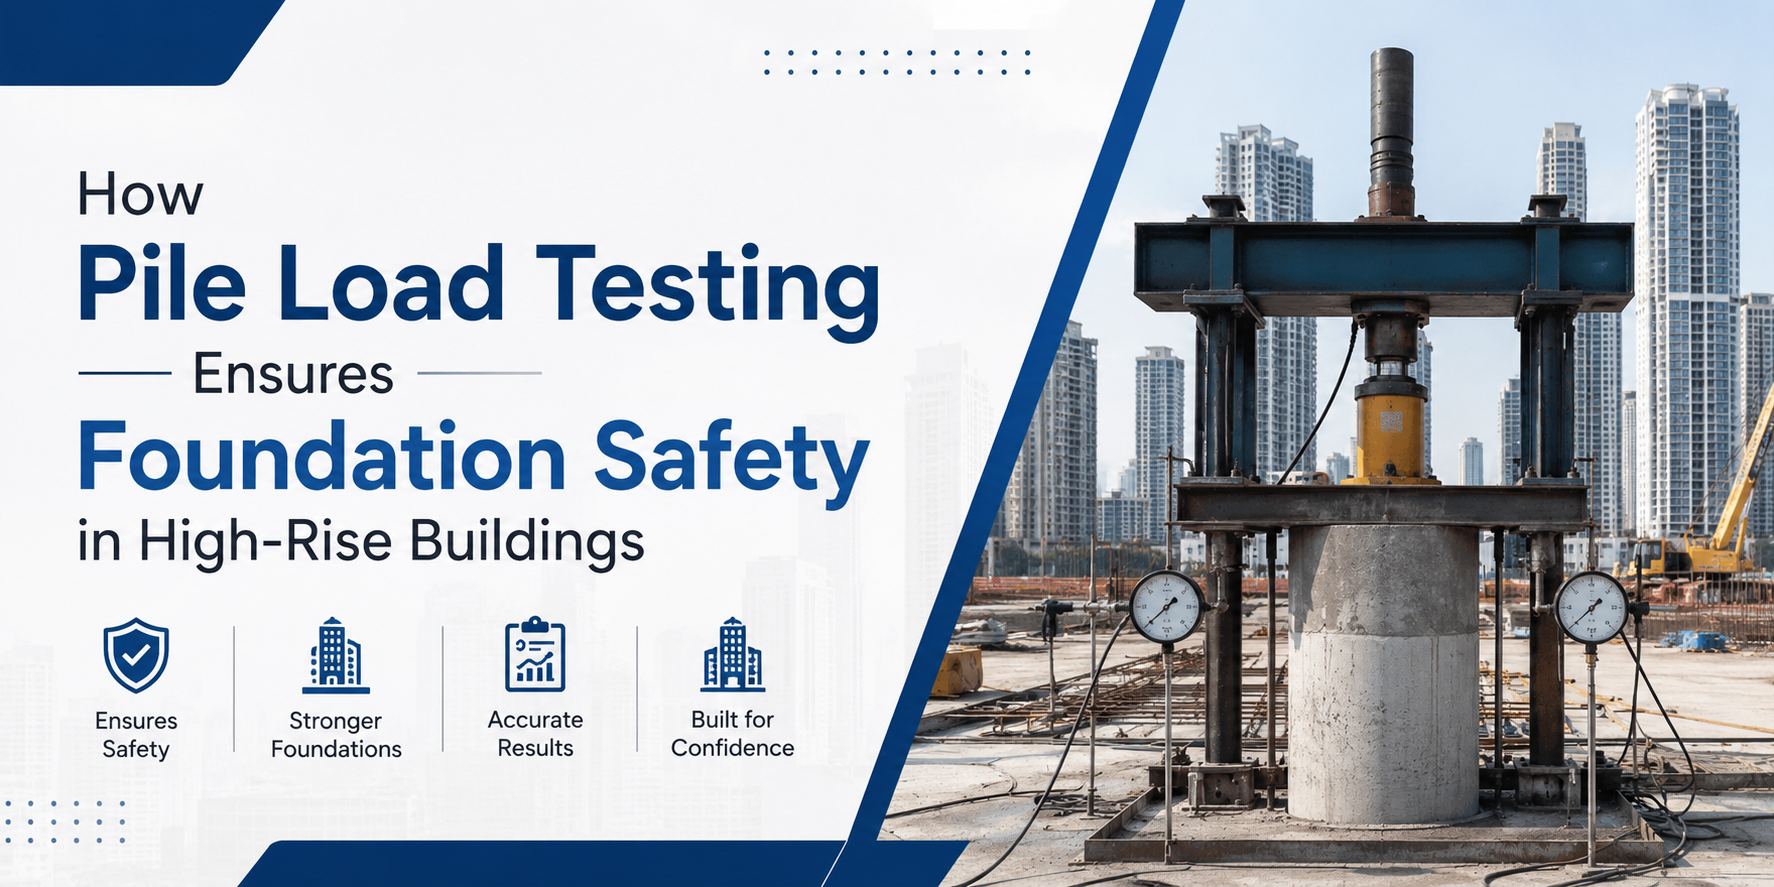
Pile Load Testing: Importance, Methods, and Benefits

February 11, 2025
Piling Work Service: The Key to Strong and Stable Foundations

February 18, 2025
What Are Geotechnical Services? A Complete Guide


February 22, 2025
What is a Road Safety Audit & Why is it Important?


April 16, 2025
Types of Material Testing: A Complete Guide for Beginners

February 07, 2026
Top 10 Geotechnical Problems in Construction and Their Solutions

March 31, 2026
Top 5 Pile Load Testing Methods Used in Modern Construction


Need help? Call us Today at+91 7665235528
for inquiries and support. We’re here to assist you.